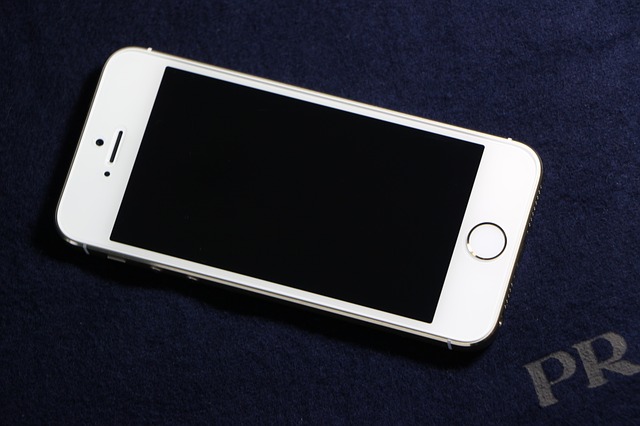
Sometimes, iPhone battery needs to be replaced. If you do not know if it is time to replace the battery, look for signs such as abnormal heating up during usage and charging, extra time to charge, speedy discharge, and other battery related malfunctions. If you have decided to replace the battery on your own, you need a couple of things to get ready for self-installation. Get a suction cup, a pentalobe screwdriver, a #000 screwdriver, a razor blade, a pryer, an opening tool, etc. Then follow these simple instructions to replace your battery seamlessly. A note of caution, if you are not sure about how to do it correctly, you can contact our iPhone repair services and we can help you with the battery replacement. Here are the steps to change it on your own.
- Power off your phone to avoid any short circuits.
- Look at the bottom of the phone to find two screws. Remove them with the pentalobe screwdriver and keep them safe for later.
- Use a suction cup to pull the screen halfway up. There is a shield under it that holds cables in place. You can also try this using a razor blade if your hands are steady. This will save you the discomfort of using a suction cup if you are new to the technique.
- Remove the three screws on this shield with the #000 screwdriver and keep them safe for later when you reassemble the phone.
- Use the spudger to remove the three cables underneath. Usually, the third one comes off once you have undone the other two.
- Next you can see two screws to the right of the battery. You need to release them as well as the battery connector.
- Remove the damaged old battery carefully. Since it is bound by adhesive underneath, you may need an opening tool.
- Put the new battery in place. Secure it well.
- Adjust the connector and the battery shield. Use the same #000 screwdriver you used when disassembling the phone.
- Reattach the three cables you previously pried open.
- Replace the display screen and the three screws that you had set aside. Do this carefully by adjusting the small screws in position first before tightening them.
- Place the display in place. Be careful with its positioning and angle.
- Replace the first two screws that you had removed with a pentalobe screw driver.
- Test the battery to make sure it is working. If it still shows the same signs of fast discharge, warming up or delayed charging, the problem might be elsewhere.
- Take the phone to a professional if the battery behaves the same way as the previous one.
Following these steps, you will be able to replace the battery of your beloved iPhone5 in no time. If not for this method, you would have to ship your phone for servicing and wait for it to come back. Seeing how integral phones have become to lives today, this DIY method is really a boon for iPhone lovers who cannot part with their phones even for a day.
