
Mistakes can happen with anyone. However careful you have been with your iPhone, it may fall and develop cracks on its own. For those who are geeky enough, may be interested in replacing your own screen, you can follow this tutorial. Otherwise you can reach our iPhone Repair Services and we can help you at very affordable prices.
Tools Required: Black/White Screen, Suction Cup, 5-point security screwdriver, standard #000 Phillips screwdriver, razor blade, prying tool, spudger tool
Procedures:
- Switch off your iPhone.
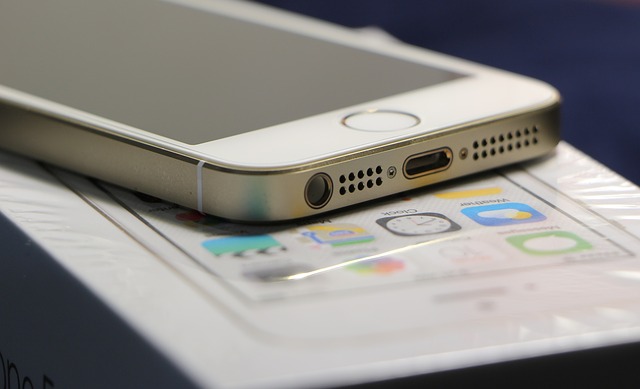
- Look at the dock connector. You can see two screws that hold the screen together on each side of it. Remove these with the 5-point screw and keep them somewhere safe.
- Place the suction cup slightly above the home button and move it by an inch. Be careful not to pull it off completely just yet. If the screen is cracked beyond redemption, you may not be able to remove it with a suction cup. Use a razor blade and spudger tool instead.
- You can see that the touch ID cable is holding the screen to the phone. You will want to remove the metal sheet covering it with the spudger tool.
- Disconnect the cable completely and keep the metal shield somewhere safe for reattaching.
- Move the screen a little more to uncover four screws that hold the shield of the display. You have to remove these screws and keep them somewhere safe. Also put away the shield that you just detached.
- Above the battery and towards the right of it there are three cables you will need to detach. Detach the ones to the extreme right first as the third one sits below them.
- At this point, you will see that the display and earpiece shields and earpiece assembly are still on the old screen. So the next few steps involve removing them. Look at the eight screws holding the earpiece assembly. Take them off and keep them safe.
- Now lift off the back of the display shield.
- You can now see the earpiece shield and easily lift it.
- The earpiece assembly is also just beneath it. It should come off as well.
- Remove the front facing camera and sensor cable now. The noise cancelling mic should be removed carefully.
- The rest of the parts are attached with a simple adhesive and should be easy to remove.
- Next remove the home button shield by using screw drivers and a pry.
- Transfer all the components to the new screen. For this simply join in the parts you removed in the reverse order.
- Finally reattach the three cables to the logic board.
- The logic board screws and plastic clips follow.
- n the last step, simple replace the dock connector screws and restart your phone once you are sure you have followed the steps correctly and successfully reassembled the phone.
With these easy DIY steps, you can save up on a hundred dollar on replacing your iPhone 5 screen. Follow them to save up on this money to use it on some more complicated repairs if the need arises.