
The most common problem with iPhone is that it keeps breaking every time after dropping. The second most common problem is that it drops into water, which is more shocking than meeting an accident yourself! Yes, we love our iPhones and its true; we want to protect it from all the troubles. However, there are situations which you simply cannot control.
Here you is how you can repair your iPhone.
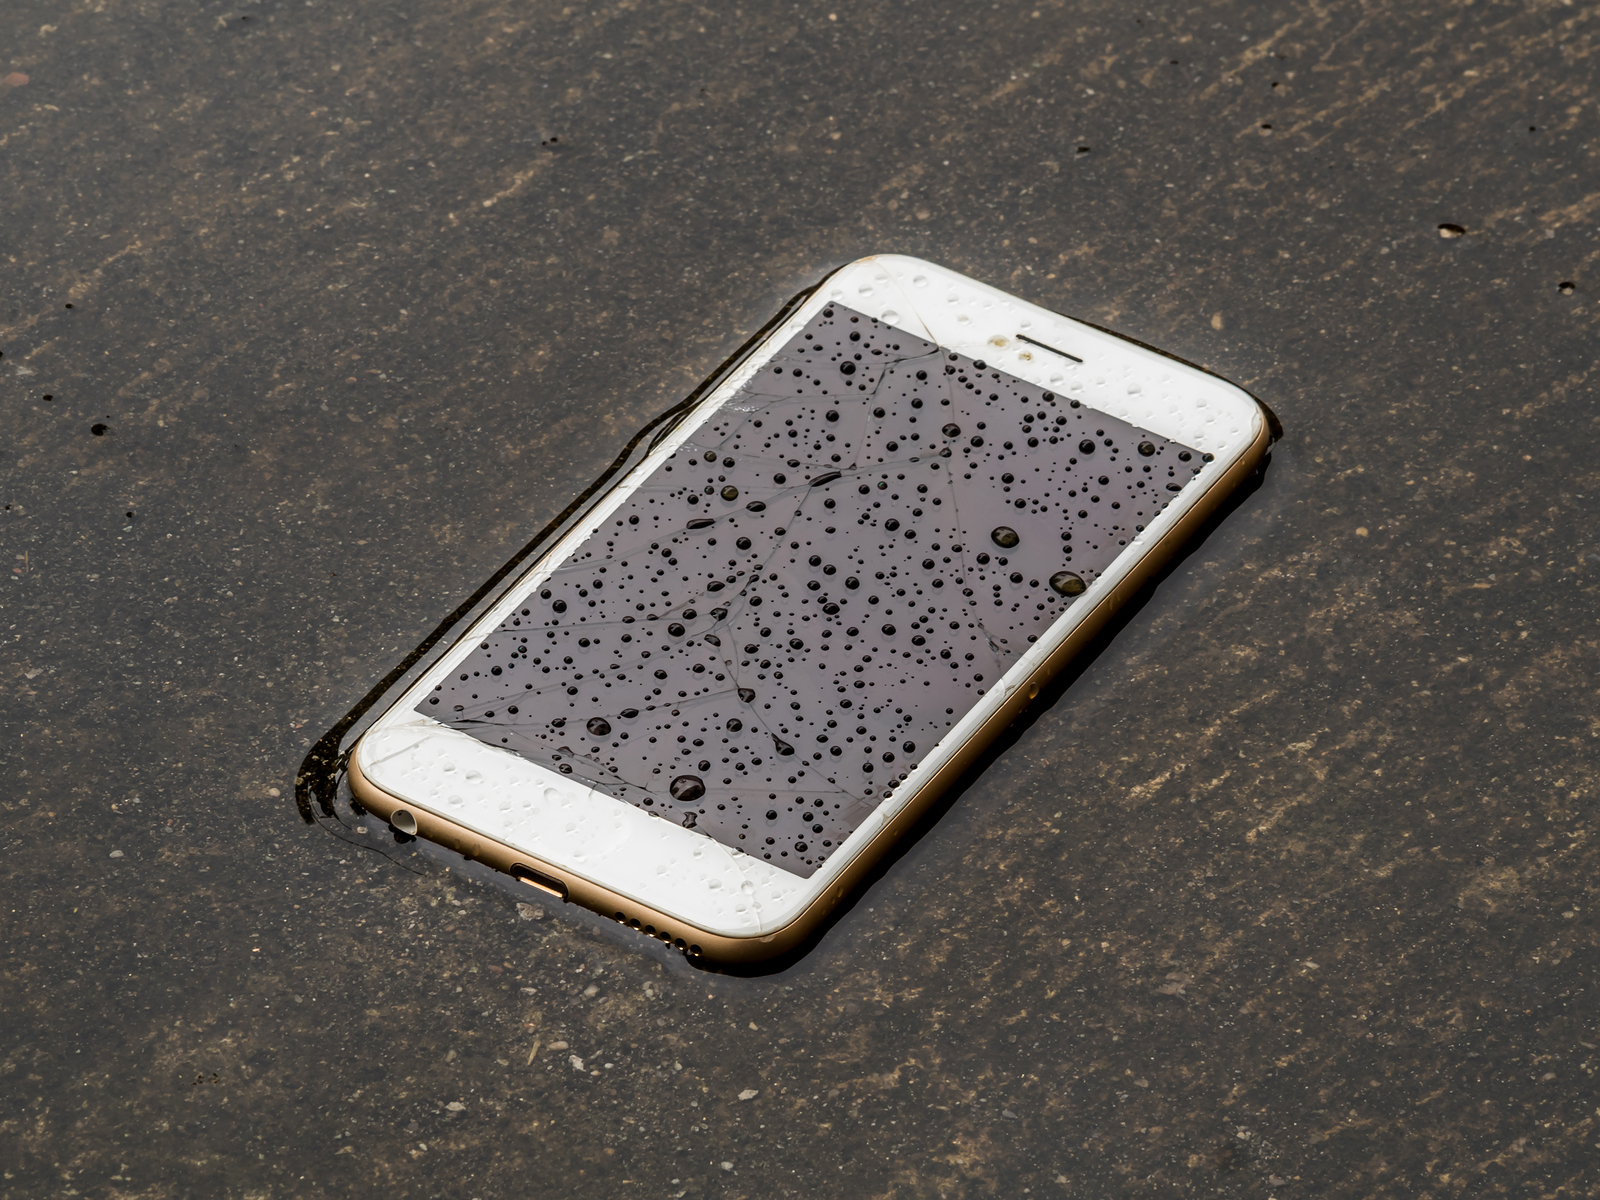
Gauge the external damage that is visible. Look for any residue or liquid between the LCD and touchscreen. It might be possible that externally you may not see any corrosion or damage in the peripheral dock connector, or the headphone jack.
You may need to disassemble the phone since water induction in the phone may complicate its disassembly. You must beware of connectors and cables that can be stick to other elements in unexpected manner.
Measure the noticeable internal damage. You will find a water damage sticker inside the phone when you open it. If the sticker is pink in color, it implies that water had flooded the interior of this phone. You will see the corrosion and residue discoloration on the connectors of Digitizer, proximity sensor, LCD, SIM card slot, and the camera.
The water sensor sticker of the dock connector may also be pink, implying that water had reached this area of the phone. The upper end of the dock connector may also show some corrosive changes close the fourth connector.
The back of the display assembly may show debris and green corrosion on the digitizer connectors and LCD. When you remove the rear cover of ear speaker, the proximity sensor, and the LCD, you will find that the speaker is harmed.
Inspect the earpiece flex/ proximity sensor more closely.
When you remove the logic board, you will see the damage more clearly on the vibration rust and corrosion on the battery pins, headphone jack connector, volume switch, and vibration motor. You may also find the motherboard with a little corrosion.
Remove logic board shield cover. If your phone is not damaged much with water, you may not need to remove the shield cover since it may risk harm to the small elements placed on the logic board. Still, if you remove it, go ahead with caution and use plastic tool like spudger. You may also use a plastic opening tool in order to life off the shield. Observe the dimpled tabs on shield which reach down on the tabs that are connected to mother board.
With the help of plastic tool, grip the edge of dimpled tab close to the corner of shield. Meddle it away from logic board. Be careful about the little components mounted on the surface, and remove the shield carefully.
Clean the logic board by immersing it in isopropyl alcohol. Let it soak until the hardened residue is loosened. The alcohol will displace water wherever it is left. You can use an extra soft brush to eliminate visible residue and corrosion. Clean all battery contacts, flex ends, chips, fuses, and connectors on the motherboard using the brush. Let the parts of the phone to dry out completely.
Clean the LCD using a cloth damped in isopropyl alcohol. Do not immerse the LCD in alcohol. Reassemble the phone after drying.
If self-repair doesn’t work out, you may consider to let us repair your water damaged phone. Contact us to find out more.